miniCurrent Project

The uCurrent is a low-burden 1 current-measuring adapter, originally published in 2009. I couldn’t find it for sale, but the schematic and full article are public. I ported the design to KiCad and adjusted the BOM to use JLCPCB basic parts. That cuts the build cost to ~€8 (vs ~€60) without affecting measurement accuracy for typical hobby use. Final result is shown in the picture above.

How to make JLCPCB assembly orders cheaper? In addition to the JLCPCB Definite Guide, consider these hints:
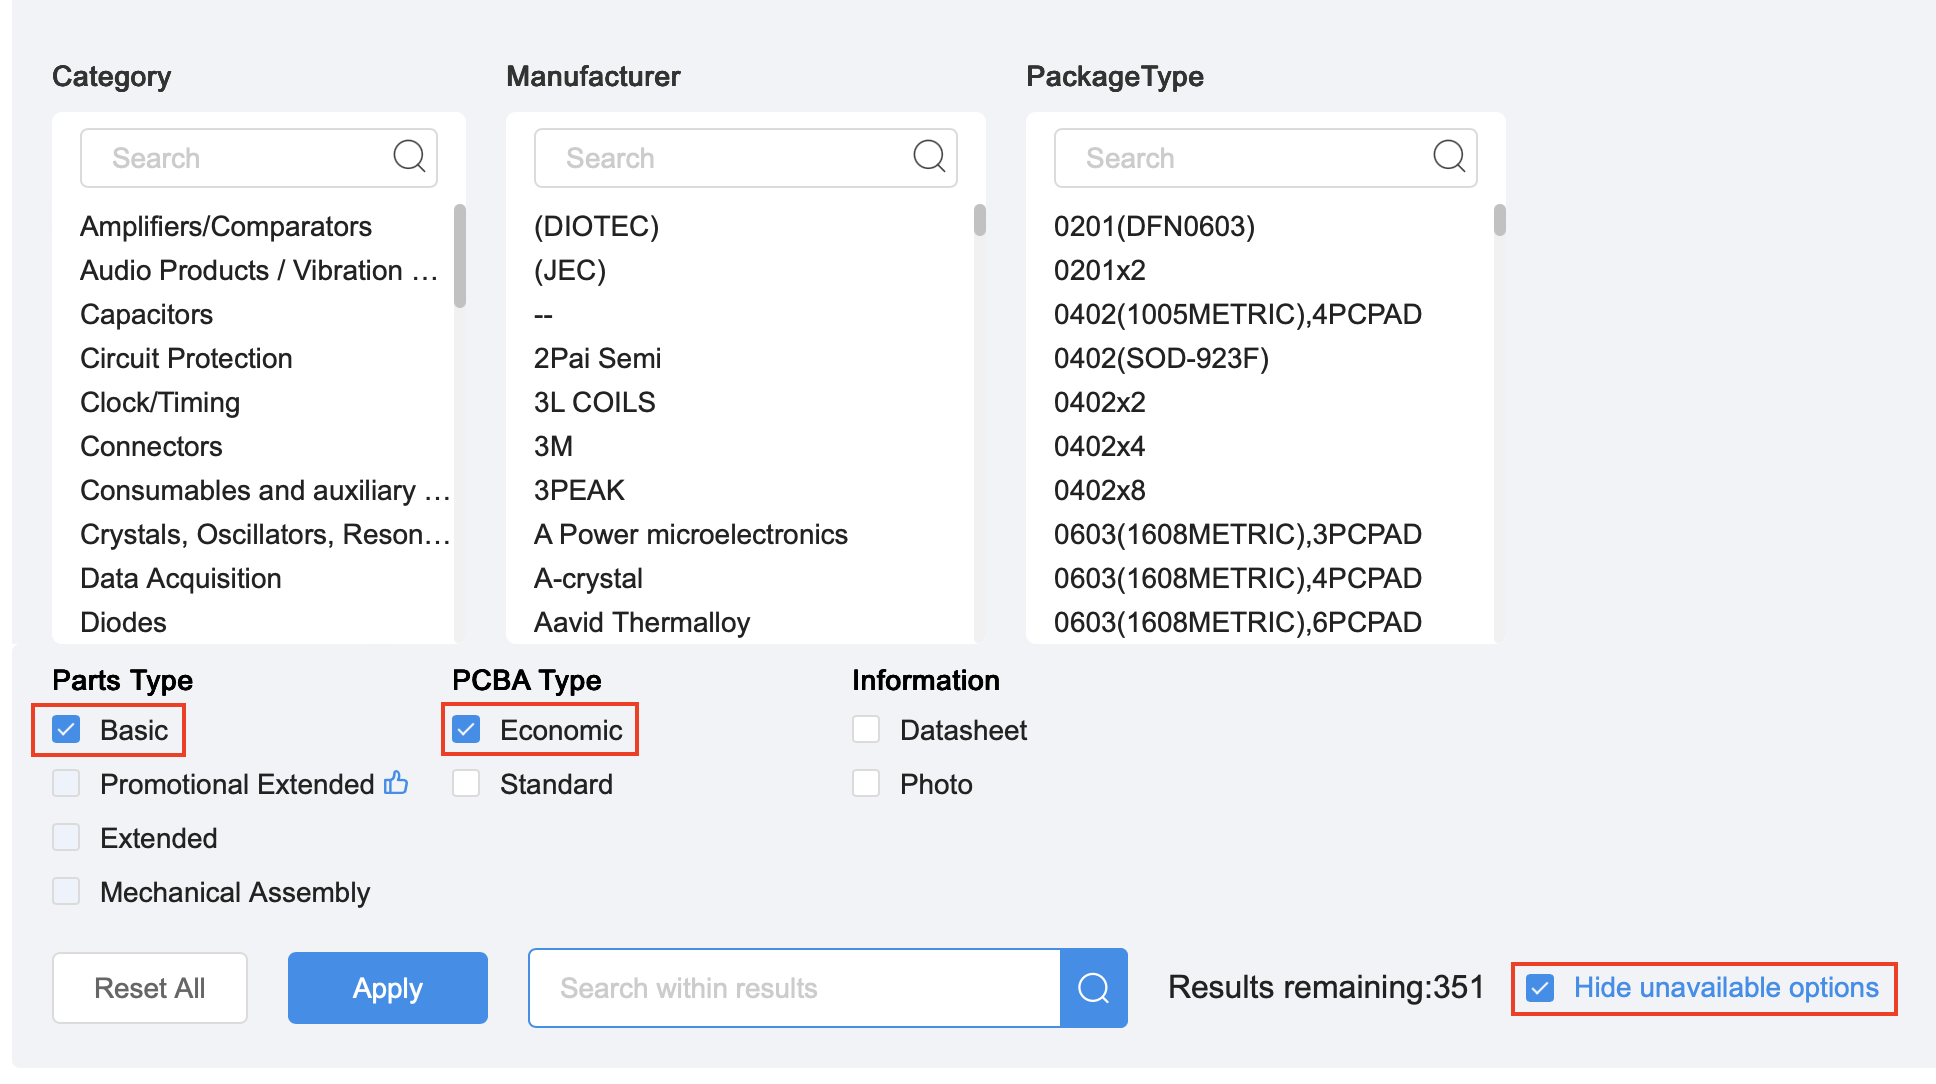
- Use as many components as possible from the basic components library (see Figure 2 below).
- If the component is through-hole (THT), exclude it from the PCB assembly and solder it yourself. This is usually cheaper. Assembly of THT components incurs an extra fee from the extended components.
- Use discount coupons—JLCPCB used to regularly give away coupons.
- Pay attention to price changes if you modify the board color or thickness. Sometimes this increases the price, especially if it’s not a common combination.
- Consider buying components from cheaper sources like Aliexpress.
The changes I made to make this cheaper version are described next.
Inputs and Outputs
Instead of using PCB mount banana jacks (Figure 3), I prefer simple pin headers. The pin headers based connections are much more common in the experiments that I’m using this current sensor, potentially you too.

Also, inspired by tinyCurrent, I added a BNC connector from Aliexpress (Figure 4), and soldered it myself. This makes it easier to connect to oscilloscopes and reduces pick-up noise.

Switches
The two “MFP 230” switches were replaced by a pin header where I can connect jumpers and a smaller 3-pin switch. Honestly, I had a hard time finding these 6-pin switches on Aliexpress, so I gave up and went with the simple pin header with jumpers.
Miscellaneous
I made more changes to make it easier to use and cheaper:
- The reverse-mount LED was replaced by a traditional DIP LED from my stock. I think this LED plus assembly cost about 6€ in JLCPCB.
- Added extra pin-header connections for battery and external power, allowing connection of a 3-AAA cell adapter.
- Replaced 100k and 10k SMD resistors with THT ones that are easier to replace if they burn out.
Burning this current-sensing resistor happened to me in the first version of the minicurrent I made.
How to Use It
- Connect either a battery cell CR2032 or the 3x AAA’s adapter
- In the current range selector, place two jumpers according to the stencil, depending on the current range you’re measuring. This will change the input resistor used for the current measurement between 0.01 Ohm, 10 Ohm, or 10k Ohm.
- Turn on the miniCurrent from the switch (“OFF”/“ON”)
- The voltage in Vsens should have a linear relationship with the current in J3/input BNC, each mV corresponds to mA, uA, or nA depending on the current range selector.
Important Note: the Vsens is a differential voltage with common mode at VDD/2. Differential probe should be used unless Vsens- is not grounded anywhere else (i.e., watch out for common USB ground if using USB oscilloscopes!) Alternatively, one can measure Vsens+ and Vsens- and subtract to get Vsens.
Future Work
Here are some ideas for future improvements:
- Upgrade the OpAmps to newer, higher-performance models.
- Finding 6-pin switches for resistor selection was challenging—consider using a different type of switch for easier sourcing.
- Redesign the output bridge to be fully differential.
- Add both female and male pin headers side-by-side for greater flexibility.
- The PCB routing could be optimized further; I only did the minimum required to get it working.
Source Files
You can find the Gerber, BOM, schematic, and other files on the project Github page. It has all the files needed to JLCPCB PCB production and assembly.
Credits
I’d like to thank the author of the original project in EEVblog, Dave Jones and Silicon Chip magazine. This project is no more than small adjustments from the original project, all credits should go to Dave.
I’d like to thank JLCPCB Tools it’s an amazing tool for using with KiCad whenever one wants to fabricate the PCB in JLCPCB. Check it out!
This project was also inspired by some changes done in tinyCurrent.
Voltage drop caused by the current measurement component. For more information refer to https://www.ni.com/docs/en-US/bundle/ni-dmm/page/burden-voltage.html. ↩︎